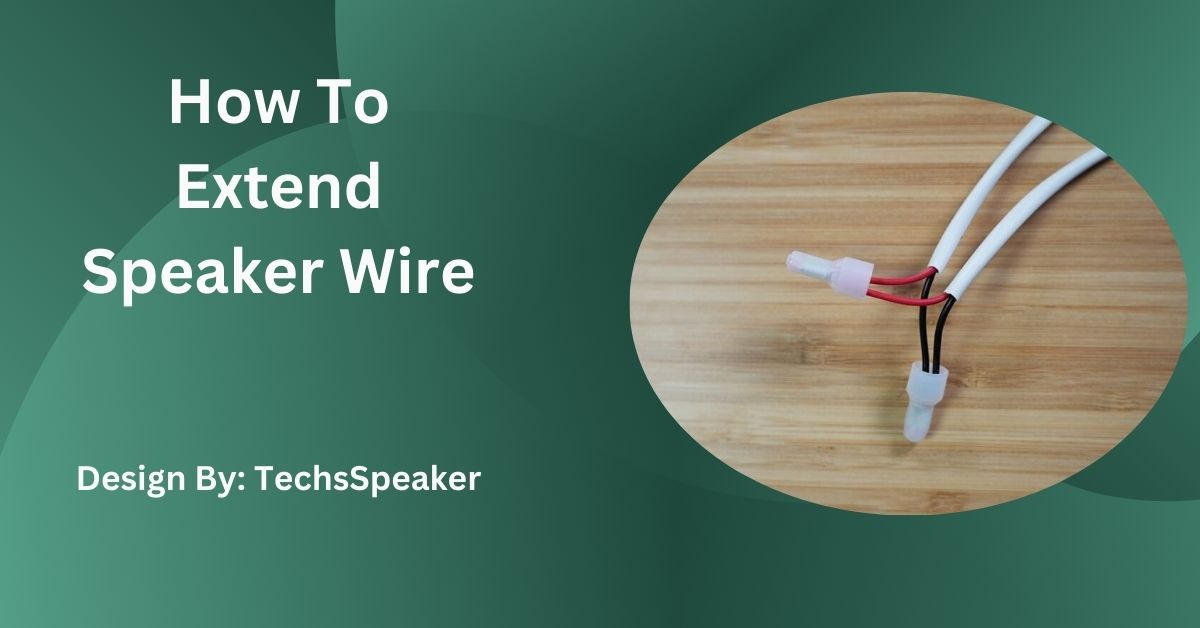
Extending speaker wire is a straightforward process involving measuring, stripping, matching polarity, and connecting wires to maintain optimal audio performance.
Got a set of speakers but your wires aren’t quite long enough to reach the perfect placement? Don’t worry—you’re not alone! Extending speaker wire is an easy, affordable fix that can help you achieve the best sound setup for your room.
Whether you’re working with a home theater system, a pair of stereo speakers, or even outdoor audio equipment, extending speaker wires ensures you’re not compromising on sound quality.
This guide will walk you through how to extend speaker wire, step by step, so you can create seamless speaker wire connections and maintain excellent audio performance.
Before we get started, let’s quickly explore a few reasons why you might need to extend your speaker wires:
- Room Layout: Sometimes your current wire just isn’t long enough to accommodate your preferred speaker placement.
- Upgrading Equipment: Adding new components or repositioning a subwoofer often means dealing with greater distances.
- Outdoor Setups: Outdoor systems often need significantly longer cables to connect speakers spread across a yard or terrace.
Whatever the reason, the process to extend speaker wire is straightforward. Now, let’s cover the materials you’ll need and the steps to make a proper connection.
Before you jump into extending your wires, gather the following tools and materials:
- Extra Speaker Wire – Use the same gauge and type of wire as your existing cable for consistent performance (16-gauge is standard for most setups).
- Wire Strippers – To expose the copper conductors for splicing.
- Wire Cutters – To trim excess wire length.
- Soldering Iron & Solder (Optional) – For a more permanent and secure connection.
- Heat-Shrink Tubing or Electrical Tape – To insulate and protect the exposed wire connections.
- Wire Connector Clips (Optional) – For a tool-free, solder-free alternative.
Once you’ve got everything ready, let’s get into the nitty-gritty of how it’s done.
Also Read: Android Phone Speaker Not Working – A Complete Guide!
Measure the distance between your speaker and the audio source to determine how much extra wire you’ll need. Add a little slack to ensure flexibility in placement.
Use a wire stripper to remove about ½ inch of insulation from the ends of both the current speaker wire and the additional wire you’ll be connecting. Take care not to damage the copper strands.
Speaker wires generally come in two distinct colors or markings to indicate polarity (e.g., red for positive, black for negative). Make sure to connect wires with matching polarity to avoid reversed connections, which can negatively impact sound quality.
There are several ways to join the wires:
- Twist and Tape Method: Twist the exposed copper strands of both wires together tightly, ensuring a solid connection. Cover the connection with electrical tape or heat-shrink tubing to insulate it.
- Soldering Method: For the most reliable connection, use a soldering iron to melt solder onto the twisted wires. Cover the joint with heat-shrink tubing for added durability.
- Wire Connectors: Snap the corresponding ends of both wires into a wire connector. This tool-free option is quick and avoids the need for soldering.
Once your wires are joined, slide heat-shrink tubing over the connection and apply heat using a heat gun to secure it. If using electrical tape, wrap it around the splice firmly to provide adequate insulation.
Before you finalize the setup, test the speaker to ensure the connection works and that there’s no distortion in the audio. Make sure all joints are secure and that the wires are insulated properly.
Congratulations! You’ve successfully extended your speaker wire.
Also Read: How Do I Connect To Ihome Speaker – Comprehensive Guide!
- Use the Same Wire Gauge: For consistent power and sound quality, the additional length of wire should match the thickness (gauge) of your existing wire.
- Label Your Wires: To avoid confusion during future adjustments, label the positive and negative wires at each end.
- Avoid Long Extensions: Extending wires too far can result in signal loss or interference. For distances over 50 feet, consider using a thicker gauge (e.g., 12-gauge wire).
- Check Compatibility with Surround Systems: If you’re extending wires for a surround sound system, ensure it doesn’t disrupt the speaker configuration or impact performance.
A well-crafted speaker wire connection ensures you get the best possible sound quality, free of distortion or interference. Neglecting proper wire handling or using subpar materials can lead to hiss, crackle, or lower audio output. By following this guide, you can avoid these common pitfalls and enjoy stellar audio clarity.
You might need to extend speaker wire to accommodate room layouts, upgrade equipment, or set up outdoor systems, ensuring optimal speaker placement and sound quality.
Materials needed include extra speaker wire, wire strippers, wire cutters, soldering iron and solder (optional), heat-shrink tubing or electrical tape, and wire connector clips (optional).
Ensure proper polarity by matching the distinct colors or markings on the speaker wires, typically red for positive and black for negative, to avoid reversed connections.
Methods to join speaker wires include twisting and taping, soldering, or using wire connectors, each providing a solid connection with varying levels of permanence and security.
Using the same gauge wire ensures consistent power and sound quality, preventing signal loss or interference, especially over longer distances.
Extending speaker wire is a practical solution for achieving optimal speaker placement in various setups. By following a few straightforward steps—measuring the required length, stripping the wire ends, matching polarity, and creating secure connections—you can maintain excellent audio performance. Properly extending speaker wire with appropriate materials and methods ensures reliable, high-quality sound without distortion or interference, enhancing your overall listening experience.
